향상된 입력
모듈 추가를 통해 EnhancedInput모듈을 추가해야 한다.
캐릭터 움직임으로 예를 든다.
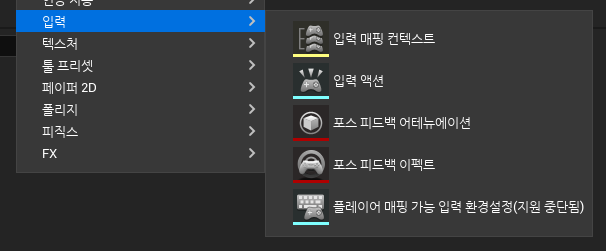
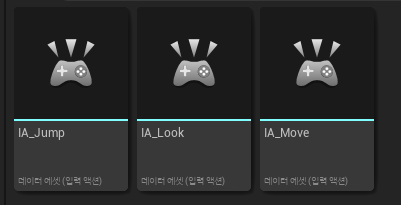
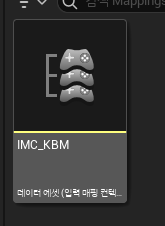
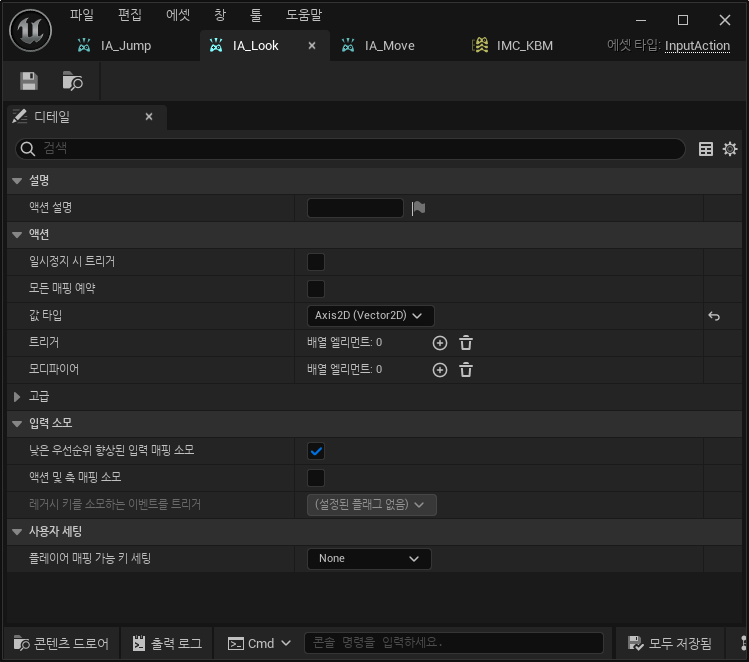
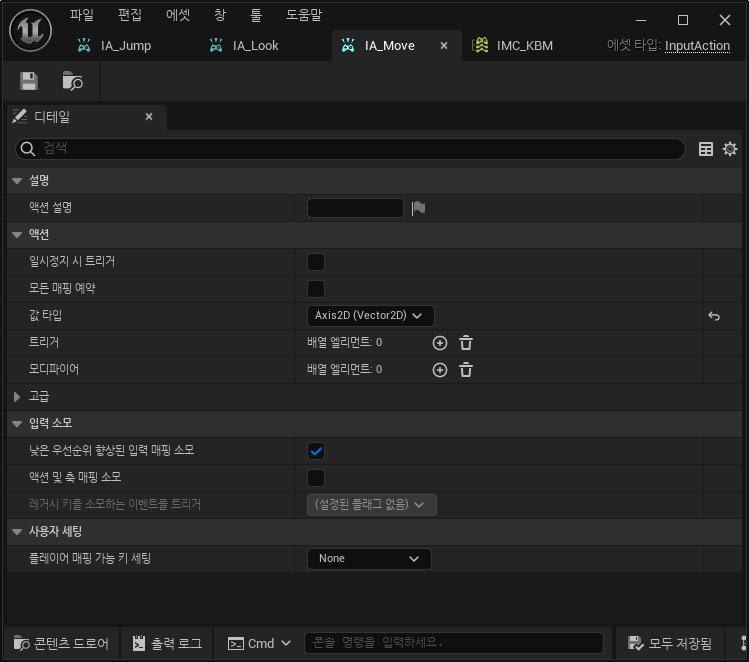
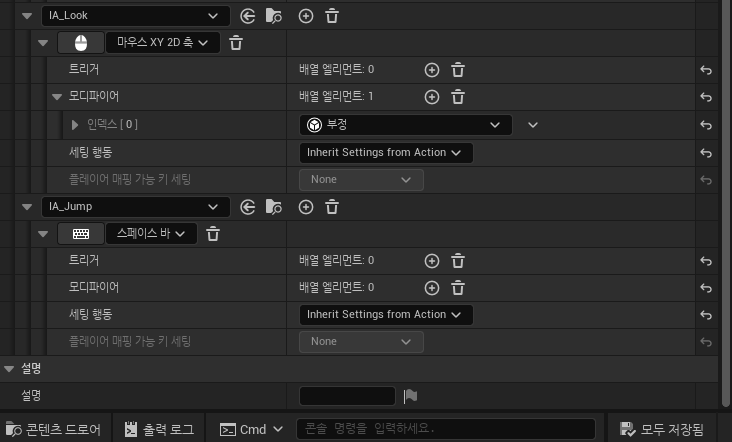
입력 액션, 입력 매핑 컨텍스트트
아래와 같이 입력 액션, 입력 매핑 컨텍스트가 필요하다.

코드에서 입력액션과 입력 매핑 컨텍스트를 받아올 수 있게 추가한다.
	UPROPERTY(EditAnywhere, Category = Input);
	UInputMappingContext* KBMMappingContext = nullptr;

	UPROPERTY(EditAnywhere, Category = Input);
	UInputAction* MoveAction = nullptr;

	UPROPERTY(EditAnywhere, Category = Input);
	UInputAction* LookAction = nullptr;

	UPROPERTY(EditAnywhere, Category = Input);
	UInputAction* JumpAction = nullptr;
SetupPlayerInputComponent 함수에서 입력과 함수를 바인딩 해준다.
void ABasePlayer::SetupPlayerInputComponent(UInputComponent* PlayerInputComponent)
{
	Super::SetupPlayerInputComponent(PlayerInputComponent);
	UEnhancedInputComponent* Input = Cast<UEnhancedInputComponent>(PlayerInputComponent);
	if (Input != nullptr)
	{
		Input->BindAction(MoveAction, ETriggerEvent::Triggered, this, &ABasePlayer::Move);
		Input->BindAction(LookAction, ETriggerEvent::Triggered, this, &ABasePlayer::Look);
		Input->BindAction(JumpAction, ETriggerEvent::Triggered, this, &ACharacter::Jump);
		Input->BindAction(JumpAction, ETriggerEvent::Completed, this, &ACharacter::StopJumping);
	}
}
바인딩한 함수들을 구현한다. Jump의 경우 ACharacter에 구현되어 있다. Move만 예시로 설명한다.
void ABasePlayer::Move(const FInputActionInstance& Instance)
{
	FVector2D MovementVector = Instance.GetValue().Get<FVector2d>();

	if (Controller != nullptr)
	{
		const FRotator Rotation = Controller->GetControlRotation();
		const FRotator YawRotation(0, Rotation.Yaw, 0);
		const FVector ForwardDirection = FRotationMatrixX;
		const FVector RightDirection = FRotationMatrixY;

		AddMovementInput(ForwardDirection, MovementVector.X);
		AddMovementInput(RightDirection, MovementVector.Y);
	}
}
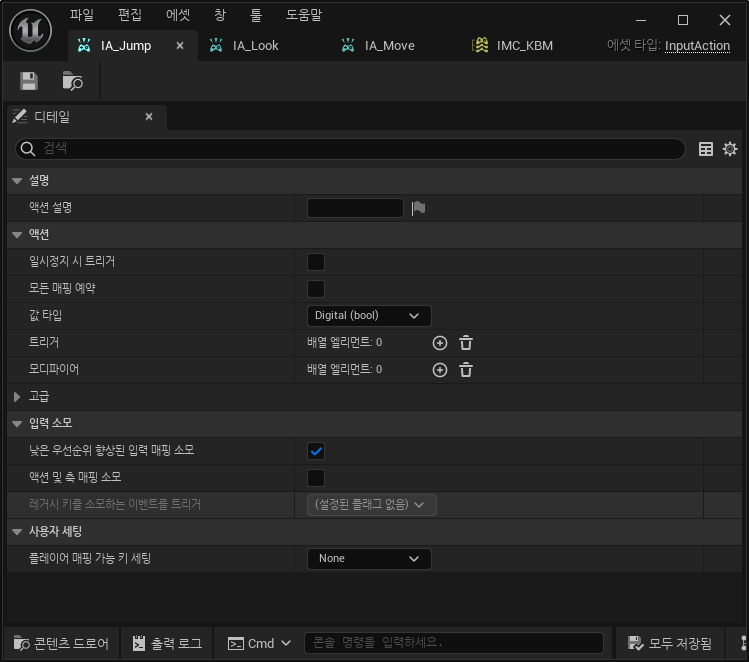
인자로 받은 Instance로 부터 2D벡터를 받고(입력 액션을 생성할때 2D벡터로 설정했음) 해당 값의 X, Y값으로 움직임을 설정한다.